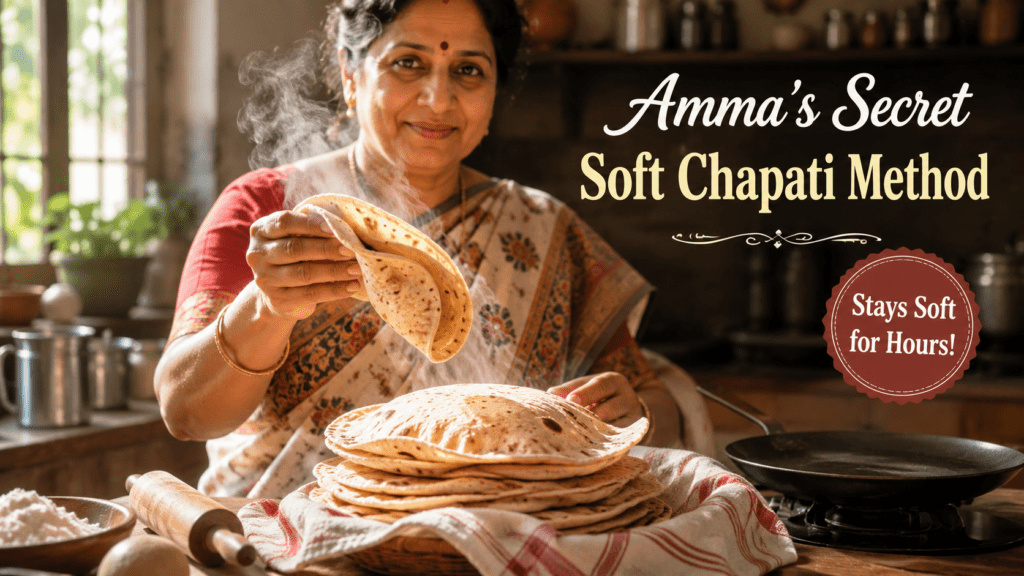
Chapati is one of the most common foods in Indian homes. Yet many people struggle to make it soft and fluffy. The result is often dry, hard, or chewy chapati that becomes difficult to eat after a few hours.
The good news is that making soft chapati is not difficult. Many traditional home cooks have followed simple techniques for generations. These methods require patience and proper handling rather than expensive ingredients.
This Amma-style soft chapati method focuses on the basics. You will learn how to choose ingredients, prepare dough correctly, rest it properly, and cook chapati the right way.
Why Chapatis Become Hard
Before learning the solution, it helps to understand the common mistakes.
Hard chapatis usually happen because of:
- Insufficient water in the dough
- Poor kneading technique
- Skipping the resting period
- Excess dry flour during rolling
- Overcooking on the tawa
- Incorrect heat settings
Even one of these mistakes can affect the final texture.
The Simple Ingredients You Need
Traditional soft chapati requires only a few ingredients.
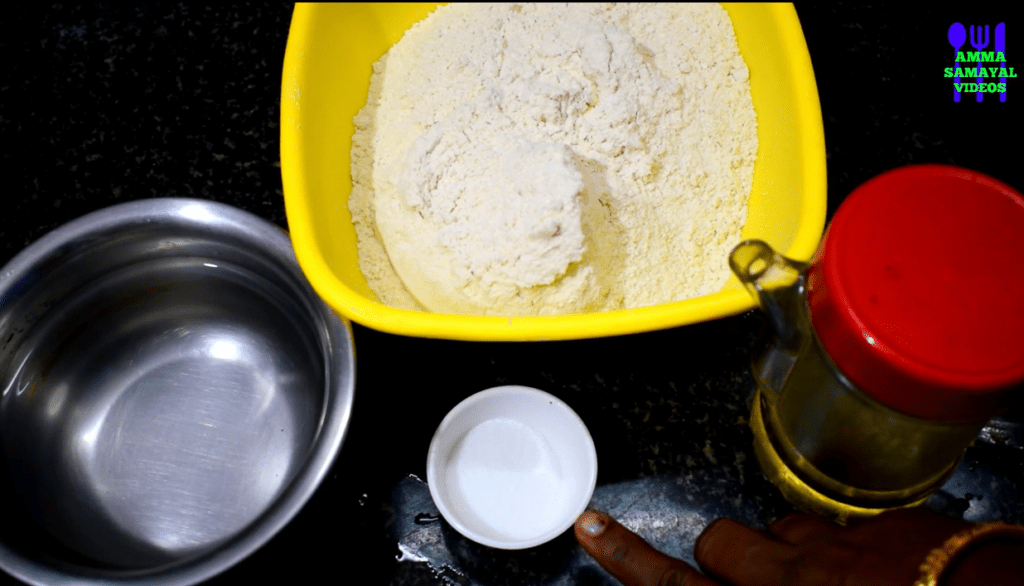
Ingredients:
- 2 cups whole wheat flour
- Approximately ¾ cup warm water
- ½ teaspoon salt
- 1 teaspoon oil or ghee
- Extra flour for dusting
Many experienced home cooks use only flour and water. The softness comes from technique, not extra ingredients.
Steps:
Step 1: Use oil
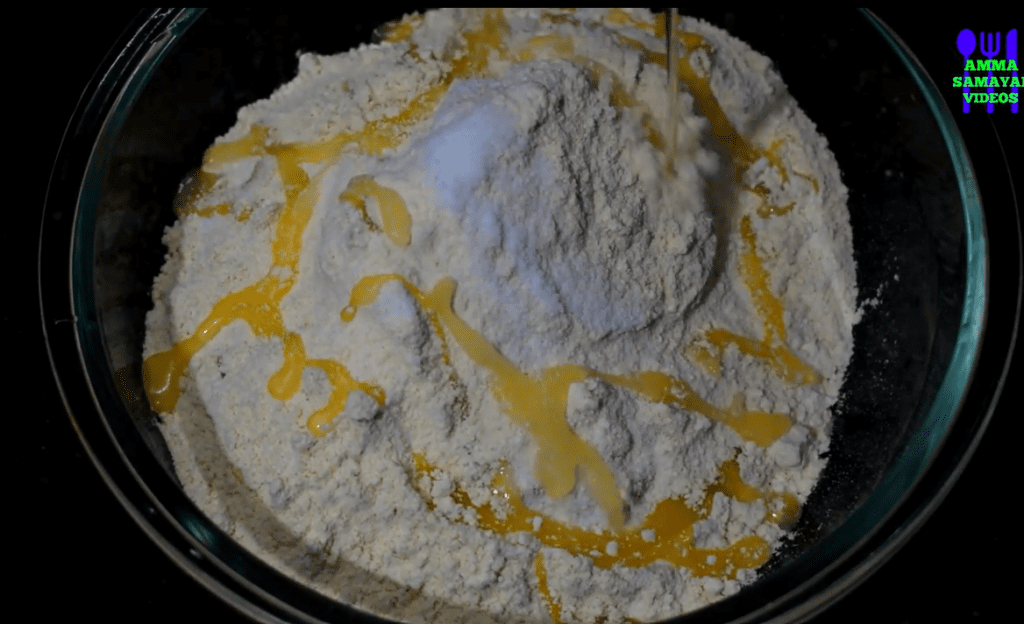
In the Whole wheat flour, add salt and 1 to 2 tbsp of oil and give it a mix.
Adding Oil helps:
- Softens the flour
- Improves the texture
The dough will be soft because of the oil.
Step 2: Use Warm Water
One of Amma’s most trusted kitchen tips is using warm water.
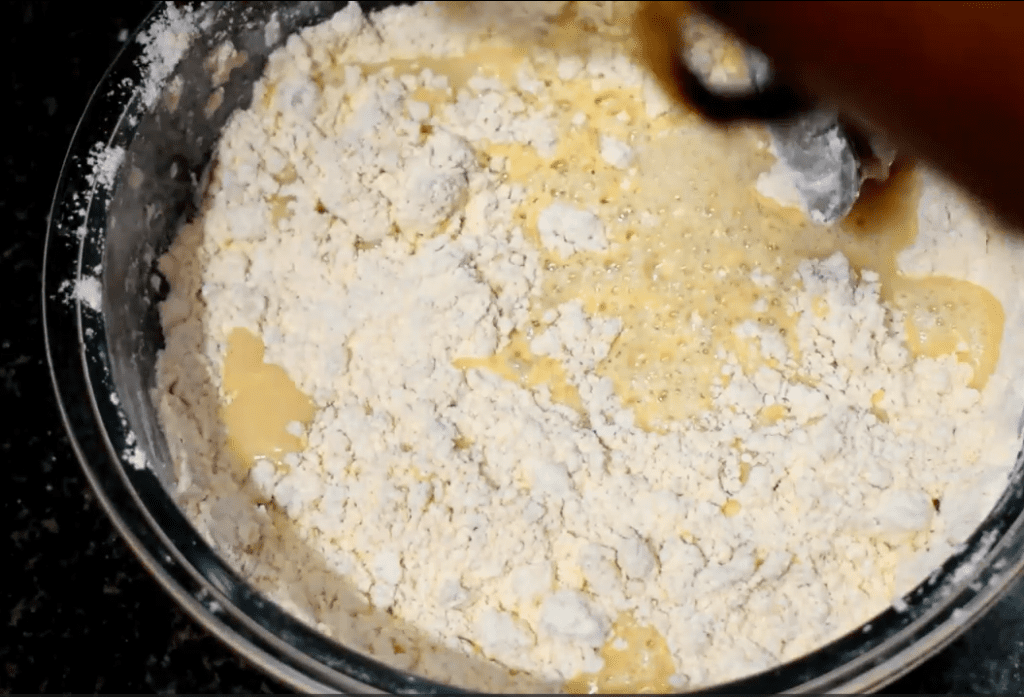
Warm water helps:
- Hydrate flour evenly
- Create a smoother dough
- Improve softness
- Make kneading easier
Add water gradually instead of pouring everything at once.
Mix until the flour starts coming together.
The dough should feel soft but not sticky.
Step 3: Knead the Dough Properly
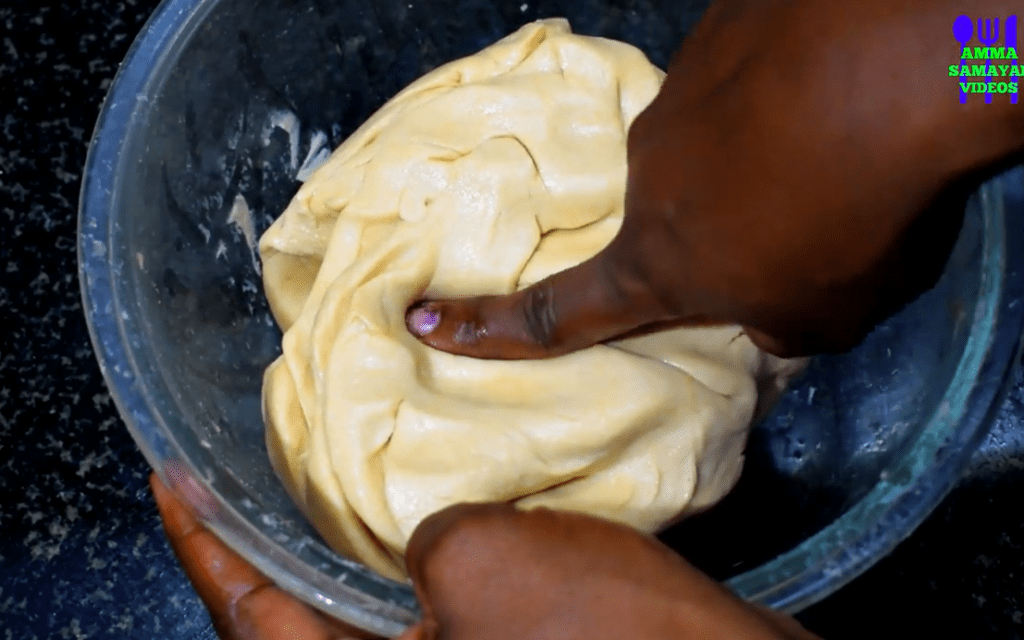
- Kneading is where softness begins.
- Spend at least 8 to 10 minutes kneading.
- Push the dough forward with your palm.
- Fold it back.
- Rotate and repeat.
The dough should become:
- Smooth
- Elastic
- Soft to touch
- Crack-free
A well-kneaded dough creates softer chapatis because gluten develops evenly throughout the mixture.
Step 4: Rest the Dough
Before resting the dough, apply two to three drops of oil to the dough and let it rest.
Many people skip this step. That is a major mistake.
Rest the dough for at least 30 minutes.
Cover it with:
- A damp cloth
- A plate
- An airtight container
Resting allows moisture to spread evenly through the dough.
The result is softer chapati and easier rolling.
For even better results, rest it for 45 minutes.
Step 5: Knead Again Before Rolling
After resting, knead the dough lightly for one minute.
This quick kneading helps:
- Improve texture
- Remove air pockets
- Create smoother chapatis
The dough should feel softer than before.
If it feels dry, add a few drops of water and knead again.
Step 6: Divide Evenly
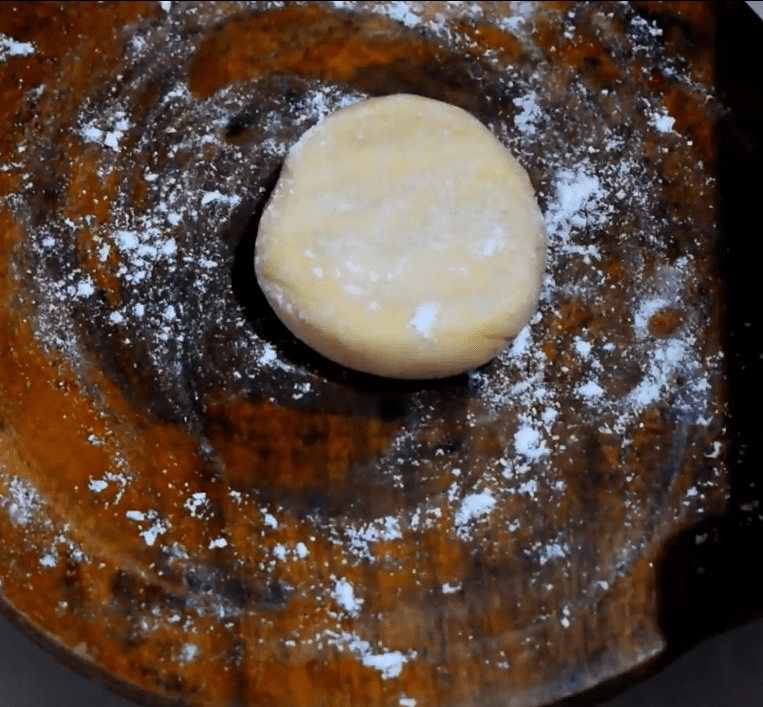
Make equal-sized dough balls.
Uniform balls help:
- Roll evenly
- Cook consistently
- Puff better
Most home cooks prefer dough balls about the size of a small lemon.
Step 7: Use Less Dry Flour
Many beginners use too much flour while rolling.
Excess flour causes chapati to become dry.
Instead:
- Dust lightly
- Shake off extra flour
- Use only what is necessary
This simple adjustment can noticeably improve softness.
Step 8: Roll with Gentle Pressure
Avoid pressing too hard. Use smooth, even movements.
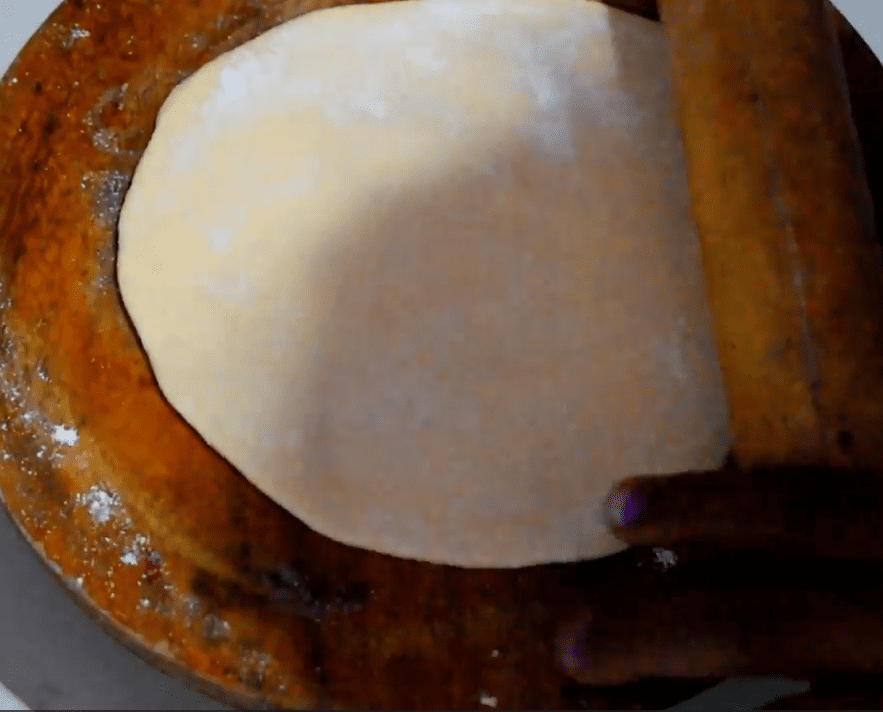
Aim for:
- Uniform thickness
- Round shape
- No thick edges
Thin and even chapatis cook better and puff more easily.
Step 9: Cook at the Right Temperature
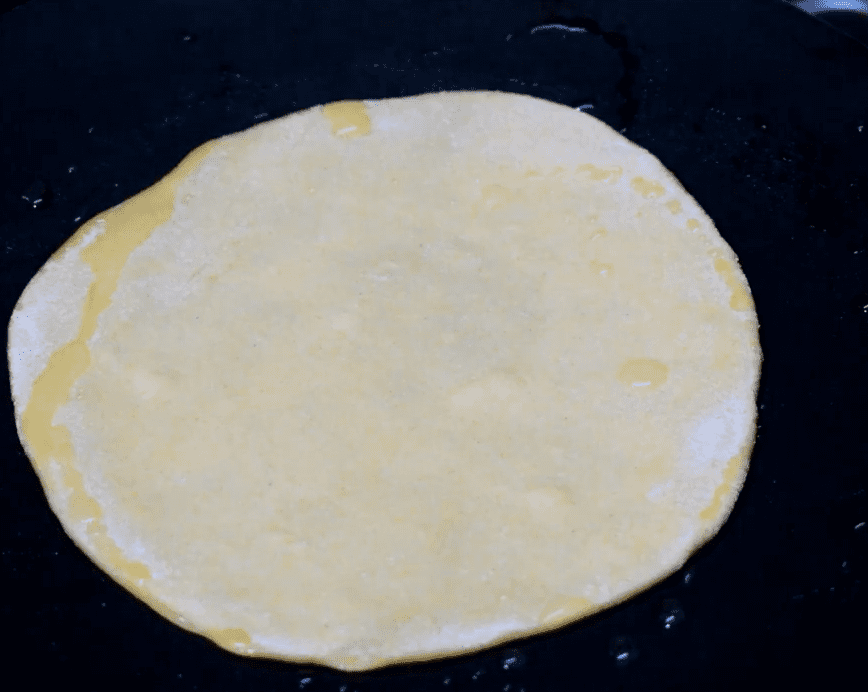
Heat control matters.
The tawa should be hot before placing the chapati.
A simple test:
Sprinkle a few drops of water.
They should disappear within seconds.
Cooking Process:
- Place a chapati on the hot tawa
- Wait until small bubbles appear
- Flip once
- Cook the second side briefly, at least for 20 seconds
- Flip again
- Press gently using a cloth or spatula
- The chapati should start puffing.
Puffing indicates proper moisture distribution inside the bread.
Step 10: Avoid Overcooking
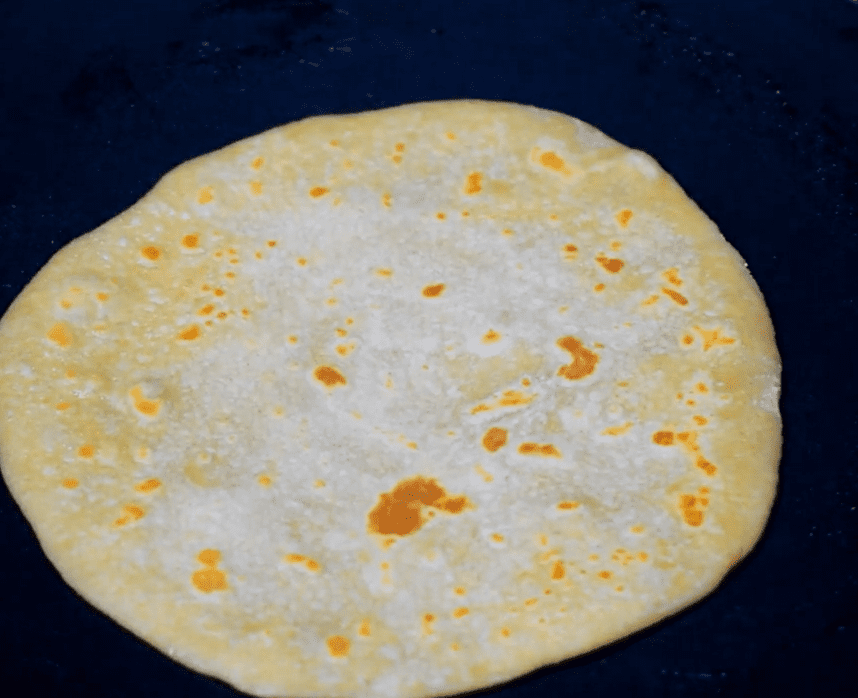
Overcooking removes moisture. This creates hard chapatis.
Signs of overcooking:
- Dark brown patches
- Dry texture
- Brittle edges
Soft chapati requires quick cooking on medium-high heat.
Each chapati usually takes less than one minute.
Step 11: Store Correctly
Storage affects softness.
As soon as the chapati is cooked:
- Place it in an insulated container
- Cover immediately
- Stack them together
The trapped steam helps maintain softness.
Many families line the container with a clean kitchen cloth for better moisture retention.
Read more Easy Coconut Milk Recipes: Quick Vegan Meals You Must Try
Common Myths About Soft Chapati
Myth 1: Milk Is Necessary
Milk can add richness. However, traditional soft chapati does not require milk. Proper kneading matters more.
Myth 2: Oil Is Essential
Oil may improve texture slightly. It is not the primary reason for softness. Many excellent chapatis are made without oil.
Myth 3: Expensive Flour Works Better
Fresh whole wheat flour is usually sufficient. Technique has a greater impact than brand choice.
Benefits of Making Soft Chapati at Home
Homemade chapati offers several advantages.
- Better freshness
- Fewer additives
- Cost savings
- Customizable ingredients
- Improved taste
- Healthier meal option
Many nutrition experts recommend whole wheat chapati as part of a balanced diet because it provides fiber, carbohydrates, and essential nutrients.
Quick Troubleshooting Guide
Problem: Dough feels hard
Solution:
- Add more water gradually
- Knead longer
Problem: Chapati does not puff
Solution:
- Roll evenly
- Increase the tawa temperature slightly
Problem: Chapati becomes dry quickly
Solution:
- Reduce cooking time
- Store immediately after cooking
Problem: Dough cracks while rolling
Solution:
- Rest longer
- Add a little water
Amma’s Five Golden Rules for Soft Chapati
If you remember only five things, remember these:
- Use warm water.
- Knead for at least 10 minutes.
- Rest the dough for 30 to 45 minutes.
- Roll evenly with minimal dry flour.
- Cook quickly on a properly heated tawa.
These simple rules have been followed in countless Indian kitchens for generations.
Amma’s secret soft chapati method is not based on hidden ingredients or complicated recipes. It is built on simple kitchen practices that anyone can follow. Warm water, proper kneading, adequate resting time, careful rolling, and correct cooking temperature make the biggest difference.
When you apply these techniques consistently, your chapatis become softer, fluffier, and more enjoyable to eat. They also stay fresh longer, making them ideal for lunch boxes, family meals, and daily cooking. Small changes in preparation can transform an ordinary chapati into a soft and satisfying staple that your family will appreciate every day.
Read more